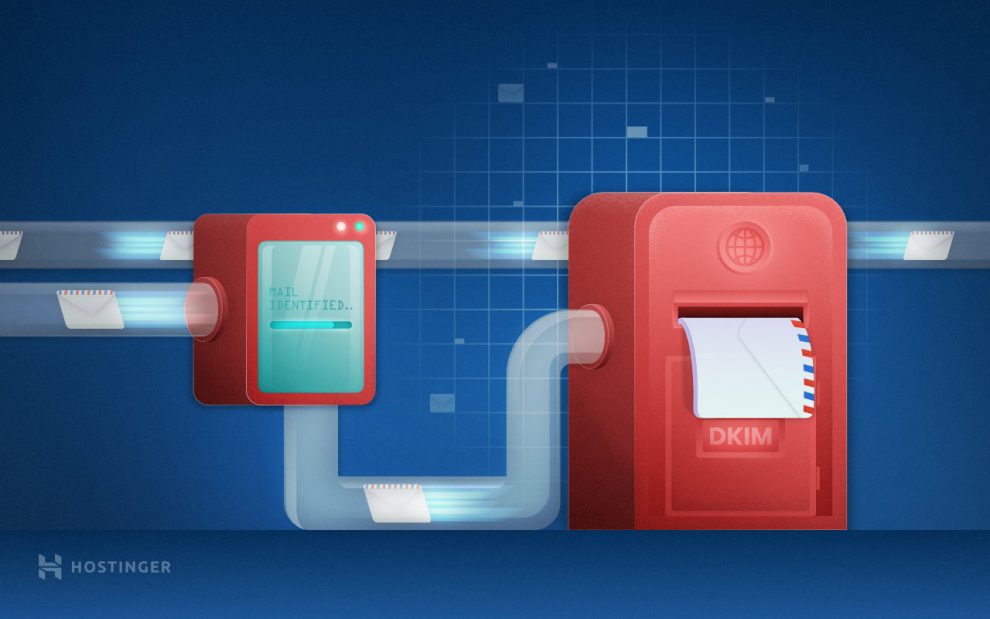
Are you having trouble with your email marketing campaign? You have spent a lot of time and money but your email ends up in the spam folder of your customers? If yes, then you definitely need DKIM record to improve mail deliverability. In this article, you will learn what DKIM is and how to use it.
What is DKIM?
DKIM stands for DomainKeys Identified Mail, is an email authentication method for adding digital digital signatures to email messages.
It ensures email comes from a trusted source and is not altered or tampered with in transit between sending and receiving servers.
When you send an email, pair private/public key will be created.
The private key is used to sign the email, the public key is published to the domain's DNS using TXT records – a type of DNS entry contains information for sources outside the domain.
The DKIM record is used by the recipient's receiving servers to authenticate your email (we'll talk more about it later).
Is the DKIM record important?
The short answer, yes.
The core of the email delivery system is not built with secure protocols in mind. So sending emails that appear to be from legitimate sources (email spoofing) is very easy.
In a spoofed email, the address shown to the recipient is different from the actual address. For example, the receiver sees the sender as example@nguồn-đáng-tin-cậy.com, but actually the word example@scammer.com.
Since the recipient will not know the real email sender, this technique is often used in phishing and spam attacks.
So, using DKIM, the server receives mail (ISP) can verify which domain the message is coming from. It will be very difficult for scammers to take advantage of your brand to scam.
Authenticated email also helps build domain reputation among ISPs and mail servers. Domains with authenticated email will have higher reputation. That is, it will have the effect of preventing emails from going to spam folders.
How DKIM record works
DKIM Recording takes place in 2 servers – sending and receiving servers.
In the sending server, the body and headers of the outgoing email are converted to a hash (a unique string of text, also known as a cryptograph). The private key is then used to encrypt and digitally sign this hash.
The server receives a notification that the incoming mail has a DKIM signature. To authenticate it, the receiving server gets the public key from the record TXT / DKIM of the domain to decrypt the signature back to the original hash.
With the decrypted hash in hand, the next task for the recipient's server is to generate its own hash from the header and body of the email.
If the decrypted hash matches the recently generated hash, it means the email is genuine and has not been spoofed.
How to set DKIM record?
DKIM record implementation may vary depending on the email hosting service. In general, however, the steps are as follows:
1. Create your own selector
A domain can have more than one public key if it has more mail servers (each mail server has a private key that matches only the public key). The selector is an attribute in the DKIM signature that makes it possible for the recipient's server to find the correct public key from the sender's DNS.
2. Generate private-public key
You need to use a tool at this step, depending on the operating system. SSH-Keygen is a great tool for users Linux and Mac. Meanwhile, Windows users can generate key pairs with PuTTY.
3. Add DKIM Record to Domain
After obtaining the public key, you need to paste it in the correct location of the DNS records. To do so, the steps may vary by hosting provider.
If you use Hostinger,and the domain name is using Hostinger's nameserver. You can easily enable DKIM record by the following way:
- Move to Mail Service Control:

- Turn on the DKIM service (Manage DKIM service) and then press the button update:

- Done, now you will see the DKIM record added inside the TXT :

If you're not using Hostinger's email hosting service, log in to the members area and select the domain name you want. Access DNS Zone Editor and fill in TXT (text) record using this format:
selector-name_.domainkey
For other hosting services, try contacting your hosting provider as every DNS editor is different.
Epilogue
Email spoofing is a common problem. To combat it, mail providers need some method to ensure incoming email is from a legitimate source.
One of the email authentication methods is the DKIM record.
We highly recommend using it to authenticate emails from their domain.
It will help your domain be marked as trusted and your emails will actually reach your customers inbox.
So even if setting up a DKIM record may seem complicated at first, the long-term benefits are totally worth it!


Post a Comment
Post a Comment