I. System Requirements
- Operating System: CentOS 6.x, 5.x
- Service pack requirements: wget
- Service selinux and iptables inactive.
II. Installation steps
1. Install Plesk Panel on Linux
Step 1: Check the status of selinux and iptables. If these 2 services are on, please turn off before starting the Plesk-Panel installation.
Service status check statement:
- selinux: "Status"
- selinux: enabled -> service is on
- selinux: disabled -> service is being turned off
- Iptables: “services iptables status or /etc/init.d/iptables status“
- Table : Filter -> service is on
- iptables : Firewall is not running -> service is being turned off
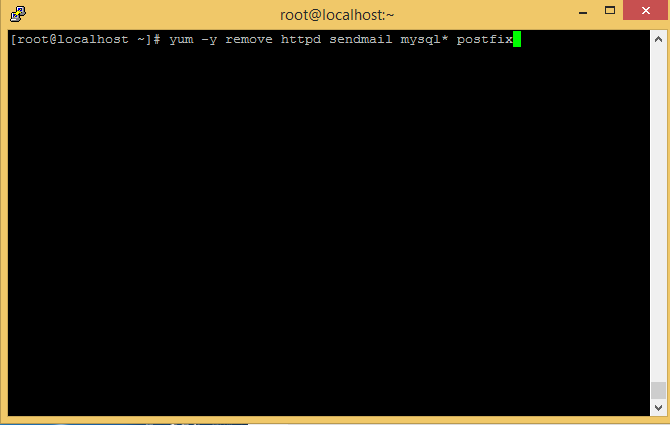
Step 2: Remove existing service packs (if any): httpd, sendmail, mysql, postfix via command: yum -y remove httpd sendmail mysql* postfix
Step 3: Install wget service pack : yum -y install wget

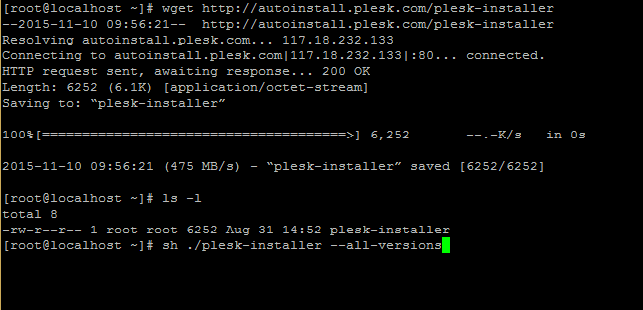
Step 4: Download the Plesk installation file by running the following command:
wget http://autoinstall.plesk.com/plesk-installer


Step 5: After the download is completed, install plesk with the following command:
sh ./plesk-installer –all-versions

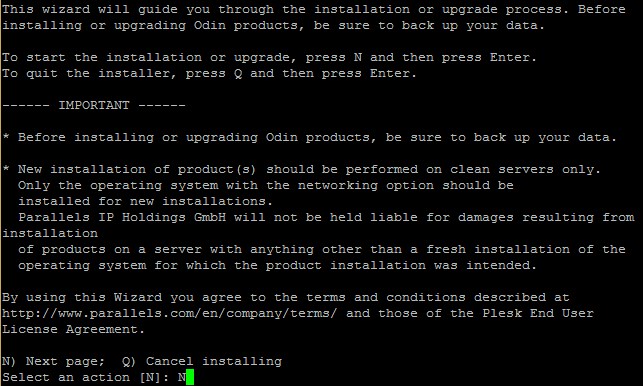
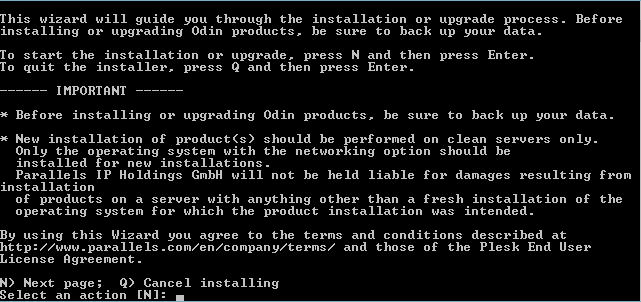
Step 6: Follow the system prompts to proceed with the automatic installation of Plesk. Select N to continue to the next step as shown below.
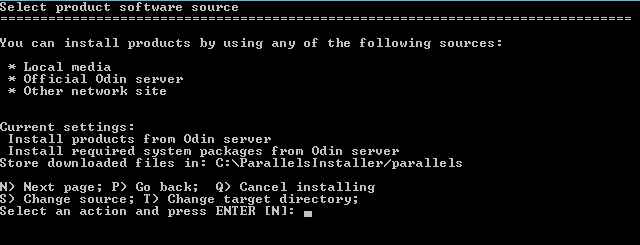
Step 7: In this step we have options to customize such as:
- N: to confirm the setting and move on to the next step
- P: to return to the previous setting
- Q: Exit the installation process
- S: Change the installation source selection.
- T: Change the directory containing Plesk
After completing the customization, we choose next page to continue.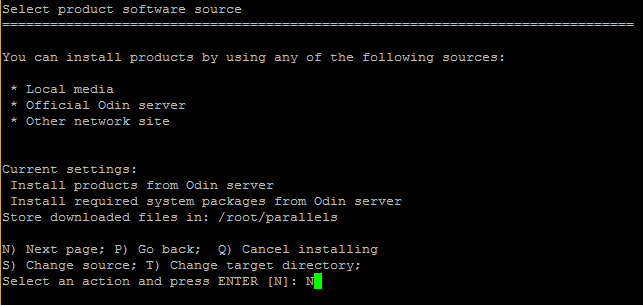
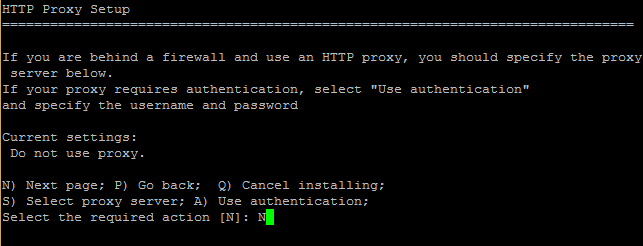
Step 8: At this step, we can choose proxy server (S) or use Authentication with user password (A). After completing the configuration, we choose N to continue to the next step.
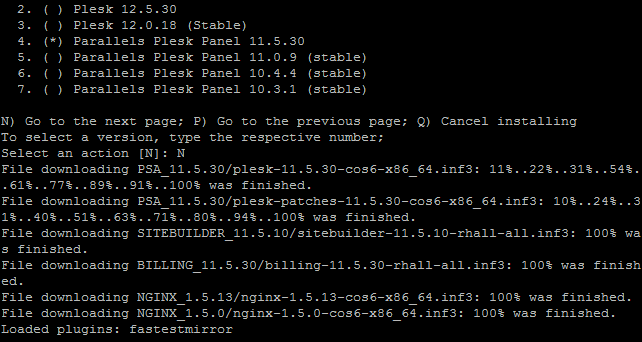
Step 9: We can choose Plesk versions depending on initial needs as below. Here we choose version 11.5.30.

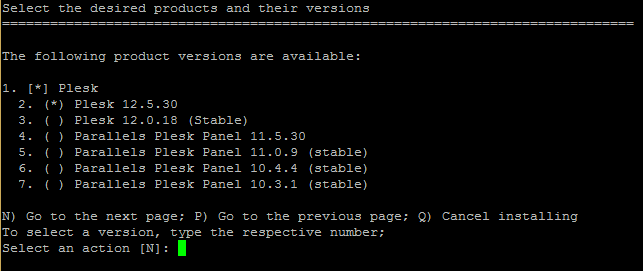
After selecting the version to install, we choose N to continue.
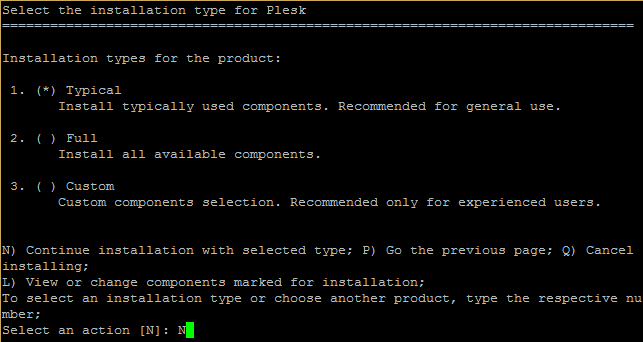
Step 10: Select the Plesk package to install with options like Full, Typical, Custom as below. Here we will take the example of choosing the Typical installation package and select N to continue.
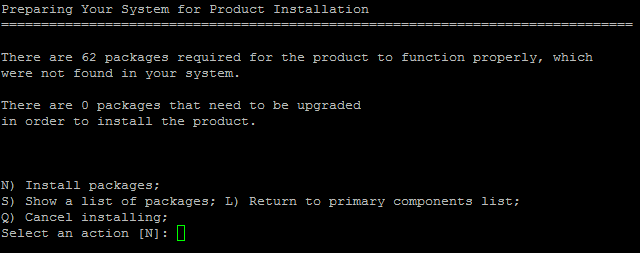
Step 11: The system will notify the size of the installation package and the free space of the server. If there is enough free space left, we choose N to continue.

Step 12: Select N to proceed with the installation.
Step 13: Complete the installation, go to the page https://
- UserName: root
- Password:
2. Install on Windows
Step 1: Download the installer automatically “http://autoinstall-win.pp.parallels.com/plesk-installer.exe”
Step 2: Open Cmd, Specify the path to the downloaded installation file above in cmd and add options –console –all-versions after the path of the installation file and Enter.
In the red circled area is the path to where the installation file we just downloaded is located

Step 3: Select Next to continue.
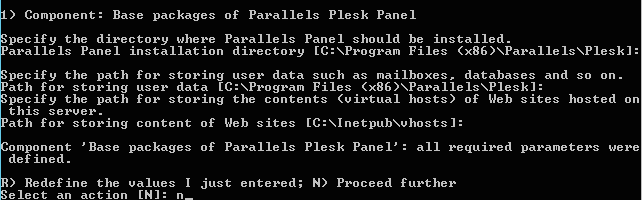
Step 4: We have options such as change the installation source (N), change the Plesk installation directory (T), continue (N), return to the previous step (P), exit (Q).
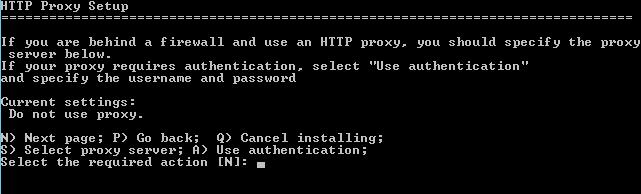
Step 5: At this step, we can choose proxy server (S) or use Authentication with user password (A). After completing the configuration, we choose N to continue to the next step.
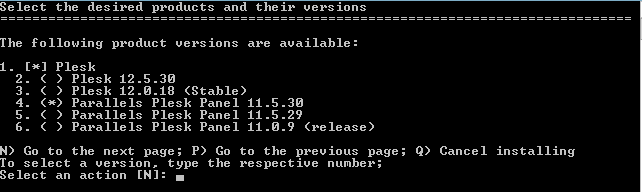
Step 6: Select the installation version according to your needs. Here we choose version 11.5.30.
Step 7: Plesk will ask if you want to send Plesk version information, upgrades, and errors. We type Yes and Enter to continue.

Step 8: Choose the installation package for Plesk, we have 3 options: Typical, Full, Custom. Here we will choose the default package as Typical.

Step 9: The system notifies the parts to be installed. Select next to continue.

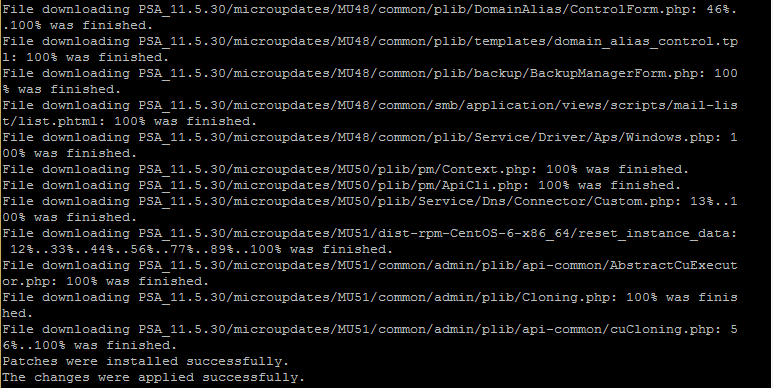
Step 10: The system will display some messages. We press Enter and select N to move to the next step.
Step 11: Enter the password for the administrator user.

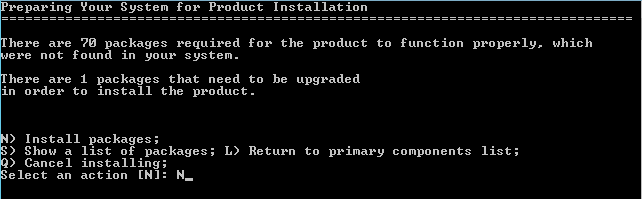
Step 12: The system notices that the packages will be installed in this step, we choose N to install the packages.
Step 13: Complete the installation, go to the page https://
- User: admin
- Password: < Password when the system asks to enter in step 11 >

Above is instructions for installing Plesk with old versions on centos:- Plesk 10.x, – Plesk 11.x that BKNS wants to guide you. If you have any questions, feel free to comment or email us for answers! Wish you luck and success with the above method!
The source: BKNS


")


 Haven't Tried")


إرسال تعليق
إرسال تعليق