In this tutorial you will learn how to flush DNS on different platforms. As a result, you will know how to clear the DNS cache on Windows, Mac and Linux computers.
Computers will often automatically save IP and DNS domain name information to help you access faster by using internal DNS right on the machine without having to query the international DNS server. Therefore, if the IP address of the website changes but the cached DNS of your computer has not been updated in time, you still cannot access the website. Clear DNS cache, or English as Flush DNS, will help you solve the above problem.
Instructions for Flush DNS Windows – how clear DNS cache on Windows machine
First, learn how to flush DNS on a Windows machine. Also in this section you will know how to clear DNS cache on Windows XP; Vista; 7; 8; 8.1; ten.
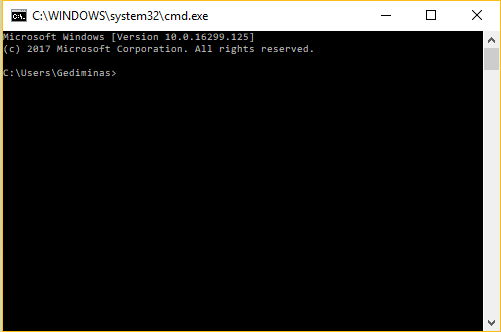
Step 1 — Access the Windows command prompt console
Press Windows + R to open the dialog box Run. Type the following cmd command and press the . button OK:
cmd
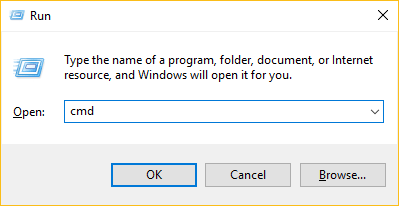
This action will open the command line interface.
Step 2 — Flush DNS
Use this command to clear the DNS cache on your computer:
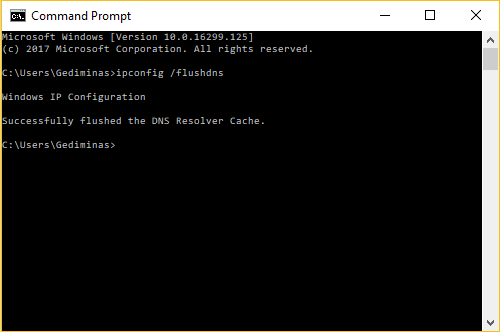
ipconfig /flushdns
Wait for a while and you will see a confirmation that the DNS cache has been cleared (flushed).
Instructions for Flush DNS Linux – How to clear DNS cache on Linux machine
Clearing DNS cache on Linux is also very simple. The structure may vary depending on the type of OS you are using.
Ubuntu Linux
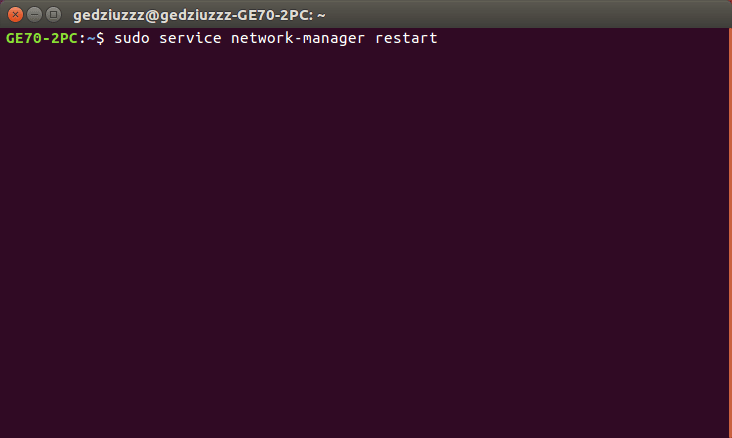
Open Terminal and execute the following command:
sudo service network-manager restart
Other Linux Distributions
If you use other linux distributions, the following command will help you:
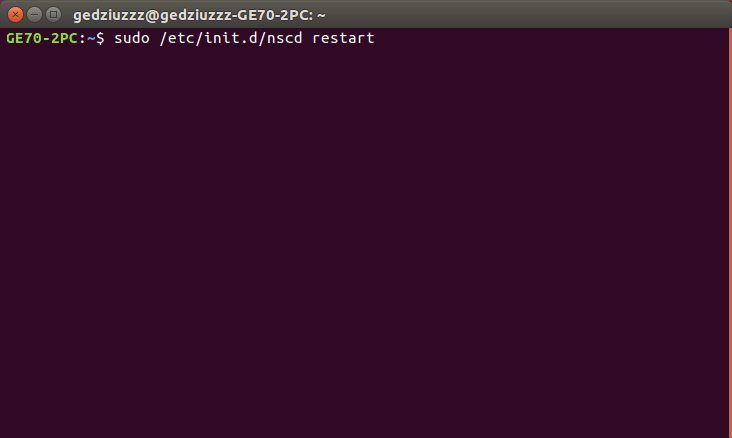
sudo /etc/init.d/nscd restart
Flush DNS Tutorial – How to Clear DNS Cache on Mac
Learn how to flush DNS on Apple OS. The command to clear DNS cache may vary depending on the OS version.
Mac OS Sierra
To flush DNS on this version of Apple OS, go to Application › Utilities › Terminal and enter the following command:
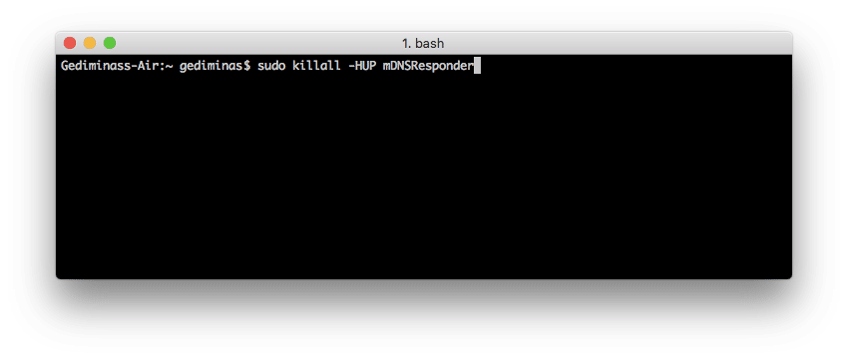
sudo killall -HUP mDNSResponder
Mac OS X El Capitan
If you are using this OS, the process is similar to opening Application › Utilities › Terminal then fill in:
sudo killall -HUP mDNSResponder
Mac OS X Yosemite
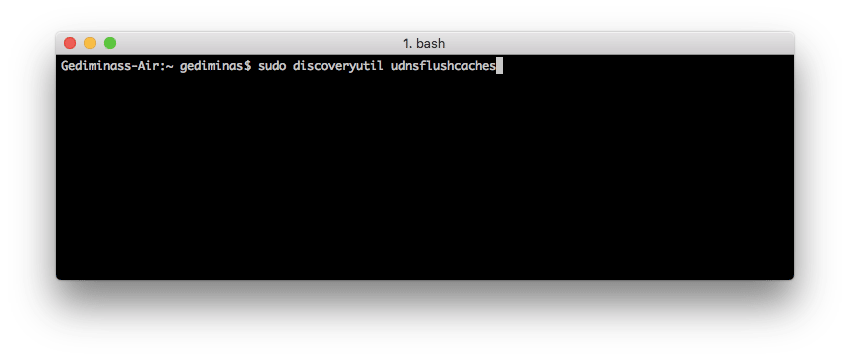
Clear DNS cache this OS by going to Application › Utilities › Terminal and enter:
sudo discoveryutil udnsflushcaches
Mac OS X Mavericks
To clear the outdated DNS cache, go to Application › Utilities › Terminal and execute:
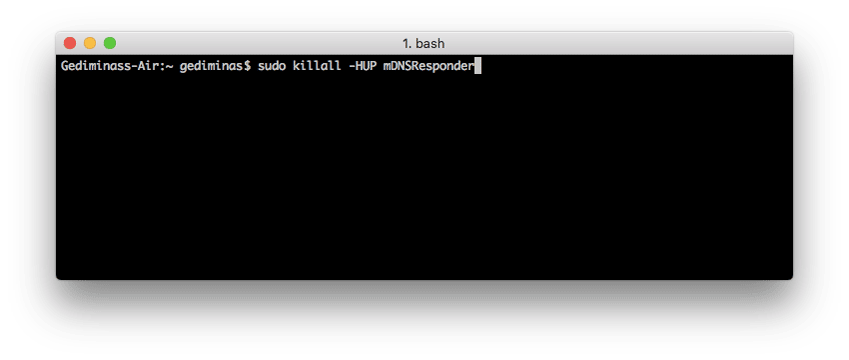
sudo killall -HUP mDNSResponder
Mac OS X Mountain Lion
Users of the MAC operating system to look to Application › Utilities › Terminal and flush DNS with the following command:
sudo killall -HUP mDNSResponder
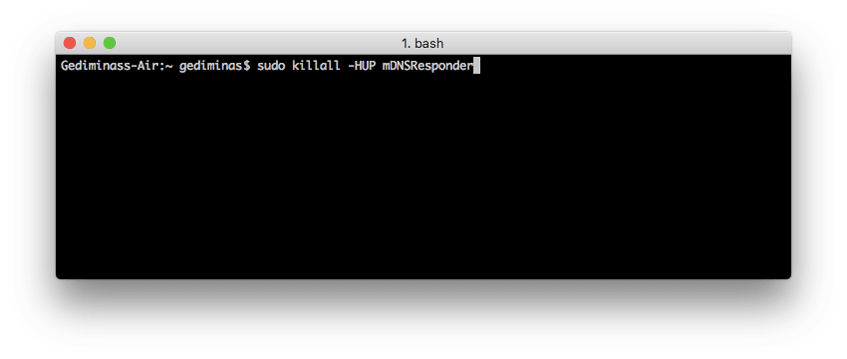
Mac OS X Lion
Find to Application › Utilities › Terminal and use the following command:
sudo killall -HUP mDNSResponder
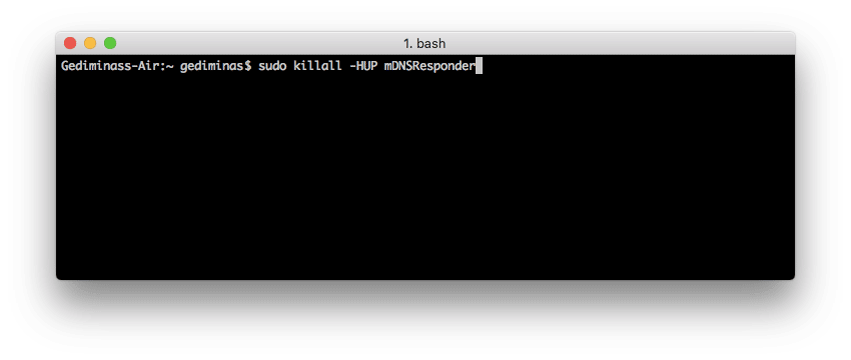
Mac OS X Snow Leopard
If you are using this version, go to Application › Utilities › Terminal and run the command:
sudo dscacheutil -flushcache
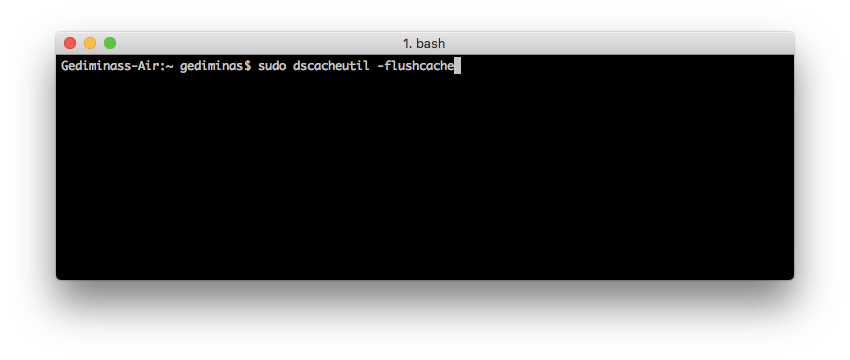
Mac OS X Leopard and lower
You can clear DNS resolver cache on this OS by going to Application › Utilities › Terminal then type the command:
sudo lookupd -flushcache
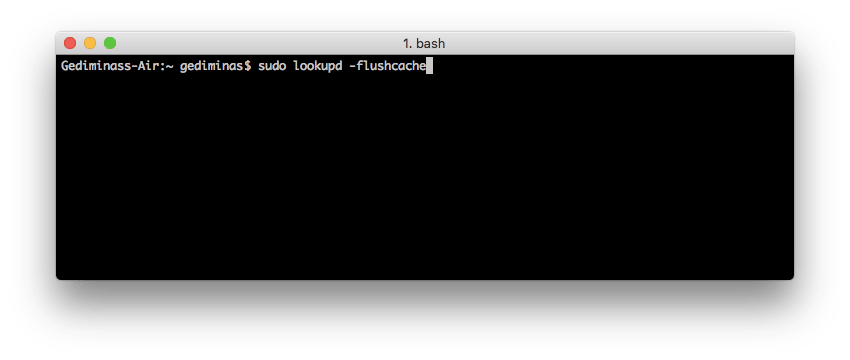
Note: after clearing the DNS cache, you can restart the computer to update the new parameters. In case it still doesn't work, you can unplug the modem/router for 30 seconds and then plug it back in.
Epilogue
Congratulation! By reading through this tutorial, you already know how to flush DNS on Windows, Linux and Mac. Now you can try clearing the DNS compile cache with a quick and easy command! You will then see the computer record the latest DNS records. Be aware that browser cache can also be the cause of incorrect page rendering. Check out this tutorial to know how to clear browser cache!
Have any tips or tricks you'd like to share? Tell us by leaving a comment below.



Post a Comment
Post a Comment